The Chemistry of Glow Sticks
Quality reviewed September 2026
Facts verified September 9, 2026
- Subject
- Science
- Grades
- Grades 9-12
- Length
- 6-page student worksheet
- Time
- About one 50-minute class period
- Great for
- Sub plans and independent work
- Includes
- Reading passage, comprehension questions + full answer key
- Format
- Print-and-go PDF
What students do
- Explain the chemiluminescence process and how it produces light without heat
- Analyze the role of each component in a glow stick reaction
- Compare how temperature affects brightness and duration of the glow
- Evaluate glow sticks as safe alternatives to traditional light sources
What it covers
- Chemiluminescence and chemical reactions
- Phase changes and molecular energy transfer
- Safety of science in holiday celebrations
Start reading this worksheet
Light Without Heat
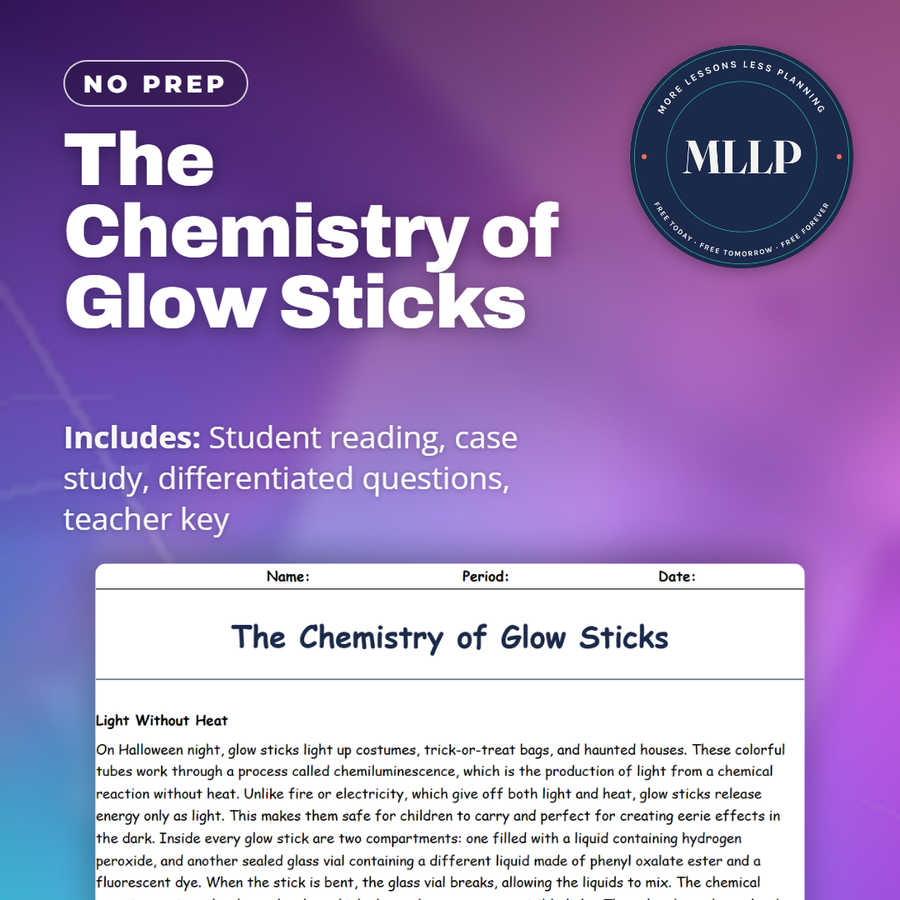
On Halloween night, glow sticks light up costumes, trick-or-treat bags, and haunted houses. These colorful tubes work through a process called chemiluminescence, which is the production of light from a chemical reaction without heat. Unlike fire or electricity, which give off both light and heat, glow sticks release energy only as light. This makes them safe for children to carry and perfect for creating eerie effects in the dark. Inside every glow stick are two compartments: one filled with a liquid containing hydrogen peroxide, and another sealed glass vial containing a different liquid made of phenyl oxalate ester and a fluorescent dye. When the stick is bent, the glass vial breaks, allowing the liquids to mix. The chemical reaction excites the dye molecules, which then release energy as visible light. The color depends on the dye—green, red, blue, or yellow.
The Science Behind the Glow
The reaction in glow sticks involves several steps. First, hydrogen peroxide oxidizes the phenyl oxalate ester. This creates an unstable compound that quickly breaks down into carbon dioxide and energy. The energy excites the dye molecules, pushing their electrons into a higher energy state. As the electrons return to normal, they release light. Temperature plays an important role. In warmer conditions, the reaction happens faster, making the glow brighter but shorter-lasting. In colder conditions, the reaction slows down, producing dimmer light that lasts longer. This is why people sometimes put glow sticks in the freezer to extend their glow time.
Like what you read? The full reading, the case study, and every question set are in the free download below, along with the answer key.
Why this matters
A glow stick makes real light with no flame and no bulb anywhere in it, which strikes most students as closer to magic than chemistry until they see the reaction up close. Bending the tube starts a genuine chemiluminescent reaction, one where energy releases as light instead of heat.
Temperature complicates the tidy version of that reaction: a glow stick in a freezer glows longer but dimmer, and one in hot water burns brighter but burns out fast, forcing students to explain a trade off instead of memorizing a fact.
From one teacher to another
Glow sticks are everywhere on Halloween, and most students never stop to think about how they actually work. This worksheet walks them through a real chemical reaction they can see and touch. I love how it connects something fun. Glowing at a haunted house, to oxidation, energy levels, and why cold makes things glow longer. It's a perfect example of how chemistry isn't hidden in lab glassware; it's in the tricks and treats.
What you get
Download
Where should I send the next one?
Everything here is free and it stays that way. Leave your email and I'll send you the new lessons as they go up. You can unsubscribe from any one of them.
Related resources

Every lesson on this site is free to download and use. If one of them saved you a prep period, you can chip in a few bucks toward my three kids' daycare fund. That's genuinely where tips go.