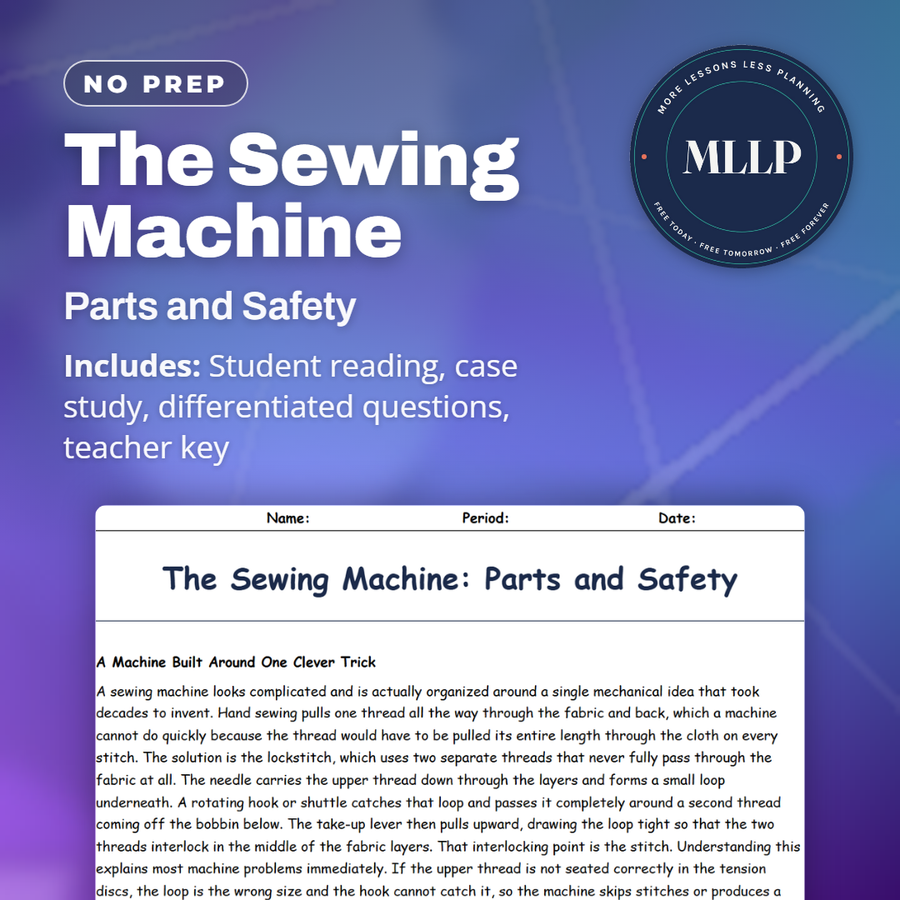
The Sewing Machine: Parts and Safety
Quality reviewed September 2026
Facts verified September 23, 2026
- Subject
- Career & Life Skills
- Grades
- Grades 9-12
- Length
- 8-page student worksheet
- Time
- About one 50-minute class period
- Great for
- Sub plans and independent work
- Includes
- Reading passage, comprehension questions + full answer key
- Format
- Print-and-go PDF
What students do
- A lockstitch locks two threads together inside the fabric layers, which is the trick that made machine sewing possible
- Marcus rethreads his bobbin eleven times before his teacher finds the actual problem
- Match machine parts like the take-up lever and the feed dogs to what each one does
- Identify whether loose loops on top or on the bottom point to the bobbin or the upper thread
What it covers
- The parts of a sewing machine, traced from the spool pin down to the feed dogs
- How to diagnose loose thread loops, skipped stitches and puckered seams by their cause
- The safety rules that exist for real reasons, from pins to loose hair near the handwheel
Start reading this worksheet
A Machine Built Around One Clever Trick
A sewing machine looks complicated and is actually organized around a single mechanical idea that took decades to invent. Hand sewing pulls one thread all the way through the fabric and back, which a machine cannot do quickly because the thread would have to be pulled its entire length through the cloth on every stitch. The solution is the lockstitch, which uses two separate threads that never fully pass through the fabric at all. The needle carries the upper thread down through the layers and forms a small loop underneath. A rotating hook or shuttle catches that loop and passes it completely around a second thread coming off the bobbin below. The take-up lever then pulls upward, drawing the loop tight so that the two threads interlock in the middle of the fabric layers. That interlocking point is the stitch. Understanding this explains most machine problems immediately. If the upper thread is not seated correctly in the tension discs, the loop is the wrong size and the hook cannot catch it, so the machine skips stitches or produces a tangled mass underneath. If the bobbin thread is missing or the bobbin is inserted backward, no second thread exists to lock with and the upper thread simply pulls back out. Almost nothing that goes wrong at a sewing machine is mysterious once you can picture two threads meeting inside the fabric.
The Parts You Actually Touch
Start at the top and follow the thread. The spool pin holds the thread spool. Thread guides route the thread through a fixed path so it feeds evenly. The tension discs squeeze the thread between two metal plates, and the tension dial adjusts how tightly, which controls how much thread the needle can pull with each stitch. The take-up lever, the metal arm that visibly rises and falls, pulls slack thread up after each stitch, and skipping it during threading is one of the most common beginner mistakes. The thread then runs down to the needle, which is held by the needle clamp and always inserted with its flat side facing a specific direction, usually toward the back. The presser foot holds the fabric down against the machine, and the presser foot lever raises and lowers it. Below the foot is the throat plate, also called the needle plate, marked with seam allowance guide lines. Underneath it sit the feed dogs, small metal teeth that rise, move backward, drop, and return, walking the fabric through at a steady rate. The bobbin sits in a case below the plate, holding the lower thread. On the side, the handwheel manually raises and lowers the needle and is always turned toward you, never away, because turning it backward can jam the timing. The stitch length and width selectors and the reverse lever complete the controls, and the foot pedal governs speed.
Threading, Tension, and What Goes Wrong
Threading order is not a suggestion; the machine only works if the thread follows the intended path. One step matters more than any other and is invisible in most instructions: always raise the presser foot before threading. The tension discs are only open when the presser foot is up, so threading with the foot down slides the thread past the discs instead of between them, producing zero upper tension. The result is a nest of loose loops on the underside of the fabric, which beginners almost always misdiagnose as a bobbin problem. It is not. Loose loops underneath mean the upper thread is at fault, and loose loops on top mean the bobbin is at fault, and remembering that one rule solves a large share of machine complaints. A few other symptoms map cleanly to causes. Skipped stitches usually mean a bent, dull, or wrong-type needle, and needles should be replaced roughly every eight hours of sewing regardless of how they look. Puckered seams usually mean the tension is too tight or the stitch length is too short for the fabric. Fabric that will not move usually means the presser foot is still up or the feed dogs have been lowered. Thread that breaks repeatedly usually means it is routed incorrectly or catching on a nick in the throat plate. Testing on a doubled scrap of the actual project fabric before sewing the real seam takes thirty seconds and catches all of these.
Like what you read? The full reading, the case study, and every question set are in the free download below, along with the answer key.
Why this matters
Marcus spent three weeks blaming a machine for a problem that was actually a threading order he had skipped, and this reading is aimed at that exact kind of dead end, where a student assumes broken instead of checking a specific, nameable cause. The same habit, tracing a symptom back to its actual mechanism instead of guessing, is worth more than any single fact about a bobbin case.
From one teacher to another
A sewing machine's whole mechanism is built around one trick, the lockstitch, where two separate threads interlock inside the fabric instead of one thread pulling all the way through the way it does by hand, and this reading follows the thread from the spool pin through the tension discs, the take-up lever and the needle down to the bobbin and feed dogs. It covers what loose loops on the top or the bottom of a seam actually mean, why a needle should be swapped roughly every eight hours, and the safety rules built around where hands sit before a pedal is pressed, including why the machine is never run over a pin. The case study follows Marcus, who is convinced his machine is broken after eleven attempts at rethreading the bobbin, until his teacher catches the actual problem at the second step of threading. He writes the underlying rule in his notebook instead of just the fix.
What you get
Download
Where should I send the next one?
Everything here is free and it stays that way. Leave your email and I'll send you the new lessons as they go up. You can unsubscribe from any one of them.
Related resources

Fashion Design and the Design Process

Fast Fashion and the Cost of Cheap Clothing
Hand Stitches and Basic Clothing Repairs
How Fabric Is Made: Woven, Knit, and Nonwoven
How to Read a Pattern
Laundry Basics: Sorting, Washing, and Stains
Every lesson on this site is free to download and use. If one of them saved you a prep period, you can chip in a few bucks toward my three kids' daycare fund. That's genuinely where tips go.