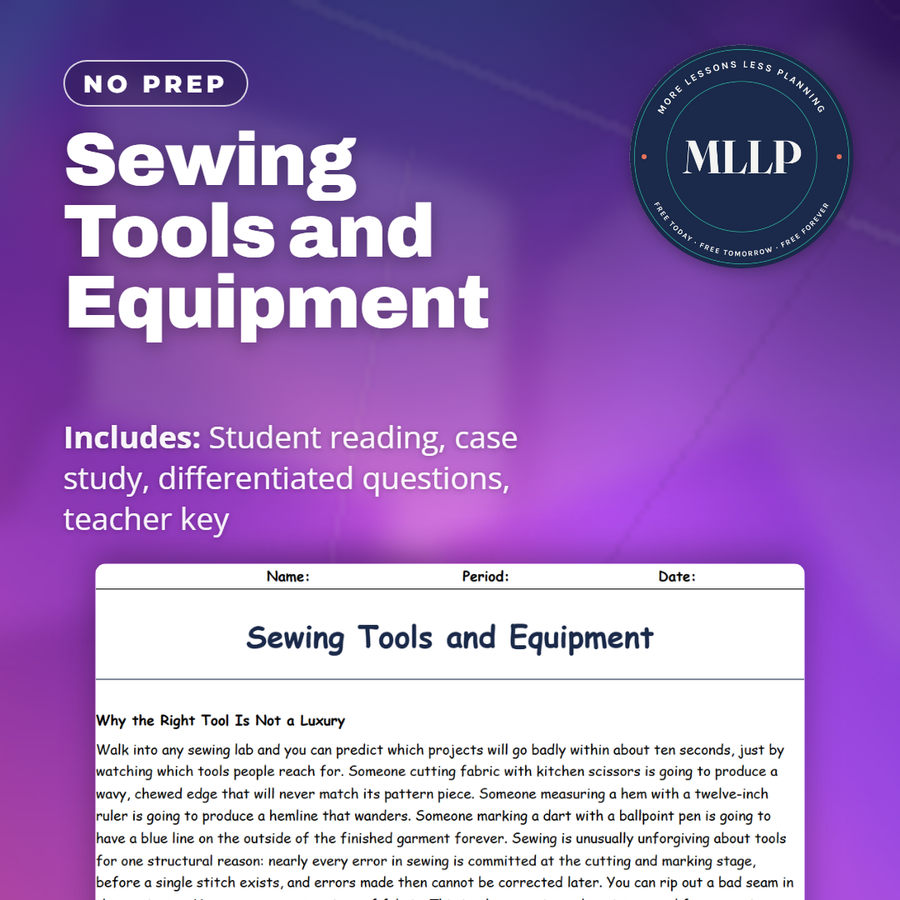
Sewing Tools and Equipment
Quality reviewed September 2026
Facts verified September 23, 2026
- Subject
- Career & Life Skills
- Grades
- Grades 9-12
- Length
- 8-page student worksheet
- Time
- About one 50-minute class period
- Great for
- Sub plans and independent work
- Includes
- Reading passage, comprehension questions + full answer key
- Format
- Print-and-go PDF
What students do
- Match tools like the sewing gauge and the seam ripper to the job each one does
- Nearly every sewing error happens at the cutting and marking stage, before a single stitch exists
- Priya has forty dollars for a tool kit and has to decide what actually needs to be bought
- Identify why fabric shears are never used to cut paper
What it covers
- The five jobs every sewing tool sorts into, cutting, measuring, marking, holding and pressing
- The difference between pressing and ironing, and why it matters for a seam
- How to build a usable tool kit on a tight budget, using Priya's own choices
Start reading this worksheet
Why the Right Tool Is Not a Luxury
Walk into any sewing lab and you can predict which projects will go badly within about ten seconds, just by watching which tools people reach for. Someone cutting fabric with kitchen scissors is going to produce a wavy, chewed edge that will never match its pattern piece. Someone measuring a hem with a twelve-inch ruler is going to produce a hemline that wanders. Someone marking a dart with a ballpoint pen is going to have a blue line on the outside of the finished garment forever. Sewing is unusually unforgiving about tools for one structural reason: nearly every error in sewing is committed at the cutting and marking stage, before a single stitch exists, and errors made then cannot be corrected later. You can rip out a bad seam in three minutes. You cannot un-cut a piece of fabric. This is why experienced sewists spend far more time measuring, marking, and pinning than they spend at the machine, and why the tool list for a beginner is longer than most people expect. The good news is that the core kit is small, most of it is inexpensive, and almost all of it lasts for decades if it is treated properly. The tools sort naturally into five jobs: cutting, measuring, marking, holding, and pressing.
Cutting Tools and the One Unbreakable Rule
Fabric shears are the foundation of the kit, and they differ from ordinary scissors in a way that matters. Shears have a bent handle, which lets the lower blade rest flat on the table while cutting so the fabric stays flat and undisturbed instead of lifting into the air with every cut. They are also longer, typically seven to nine inches, which produces smoother, straighter cuts with fewer strokes. Attached to fabric shears is the one rule every sewing lab enforces without exception: fabric shears never, ever cut paper. Paper contains mineral fillers such as clay and calcium carbonate that are harder than the steel edge, and cutting paper dulls shears astonishingly fast. A dulled pair chews fabric rather than slicing it. Pinking shears cut a zigzag edge, and their purpose is not decoration but fray control, because a zigzag edge exposes less continuous yarn than a straight cut and unravels more slowly. A rotary cutter, which looks like a pizza wheel with a razor blade, cuts through multiple layers with excellent accuracy but must always be used with a self-healing mat underneath and the blade guard closed the instant it leaves the fabric. Small thread snips live next to the machine for clipping thread tails. The seam ripper, a small hooked blade, removes stitches, and every sewist uses one constantly, which is worth saying out loud because beginners often assume needing it means they failed.
Measuring and Marking
Measuring tools in sewing must handle curves, which is why a rigid ruler alone is not enough. A flexible tape measure, usually sixty inches long, is the primary tool for taking body measurements and for measuring around anything curved. A clear acrylic ruler, marked with a grid, is used with a rotary cutter and for checking that a cut edge is square. The sewing gauge, sometimes called a hem gauge, is a six-inch metal ruler with a sliding marker on it, and it is the single most useful small tool in the kit because it lets you set a measurement once and then repeat it identically dozens of times around a hem without re-reading numbers. Marking tools transfer information from the pattern onto the fabric: darts, notches, dots, buttonhole placement, and pocket position. Tailor's chalk marks cleanly on most fabrics and brushes off. Water-soluble and air-soluble marking pens disappear with a damp cloth or over a day or two, but both must be removed before pressing, because heat can set a marking permanently. A tracing wheel used with dressmaker's carbon paper transfers lines through the pattern onto the fabric underneath. Whatever marking tool is used, the rule is the same: mark on the wrong side of the fabric whenever possible, and always test the marker on a scrap of the actual fabric first.
Like what you read? The full reading, the case study, and every question set are in the free download below, along with the answer key.
Why this matters
Priya's forty dollar limit is a real constraint a lot of students share, and this reading is built around the idea that spending matters more at some stages of a project than others, since a cutting mistake cannot be undone while a stitching mistake can be picked out in minutes. That same logic, protect the irreversible step and improvise everywhere else, applies well beyond a sewing kit to any project with a fixed budget and an uneven set of risks.
From one teacher to another
Good tools do most of the work of preventing a ruined project, and this reading explains why nearly every sewing error happens at the cutting and marking stage, before any stitching exists, which is why the tool list covers cutting, measuring, marking, holding and pressing rather than just a needle and thread. It walks through fabric shears, the one rule that they never touch paper, a rotary cutter and its mat, the sewing gauge, and the difference between pressing, which lifts and sets down, and ironing, which glides and can distort a seam that is not stabilized yet. The case study follows Priya, who has forty dollars against a two hundred dollar supply list and has to decide what to buy outright and what to borrow or improvise. Her teacher asks her which mistakes cannot be undone, and that question is what actually decides her shopping list.
What you get
Download
Where should I send the next one?
Everything here is free and it stays that way. Leave your email and I'll send you the new lessons as they go up. You can unsubscribe from any one of them.
Related resources
Fashion Design and the Design Process
Fast Fashion and the Cost of Cheap Clothing
Hand Stitches and Basic Clothing Repairs
How Fabric Is Made: Woven, Knit, and Nonwoven
How to Read a Pattern
Laundry Basics: Sorting, Washing, and Stains
Every lesson on this site is free to download and use. If one of them saved you a prep period, you can chip in a few bucks toward my three kids' daycare fund. That's genuinely where tips go.