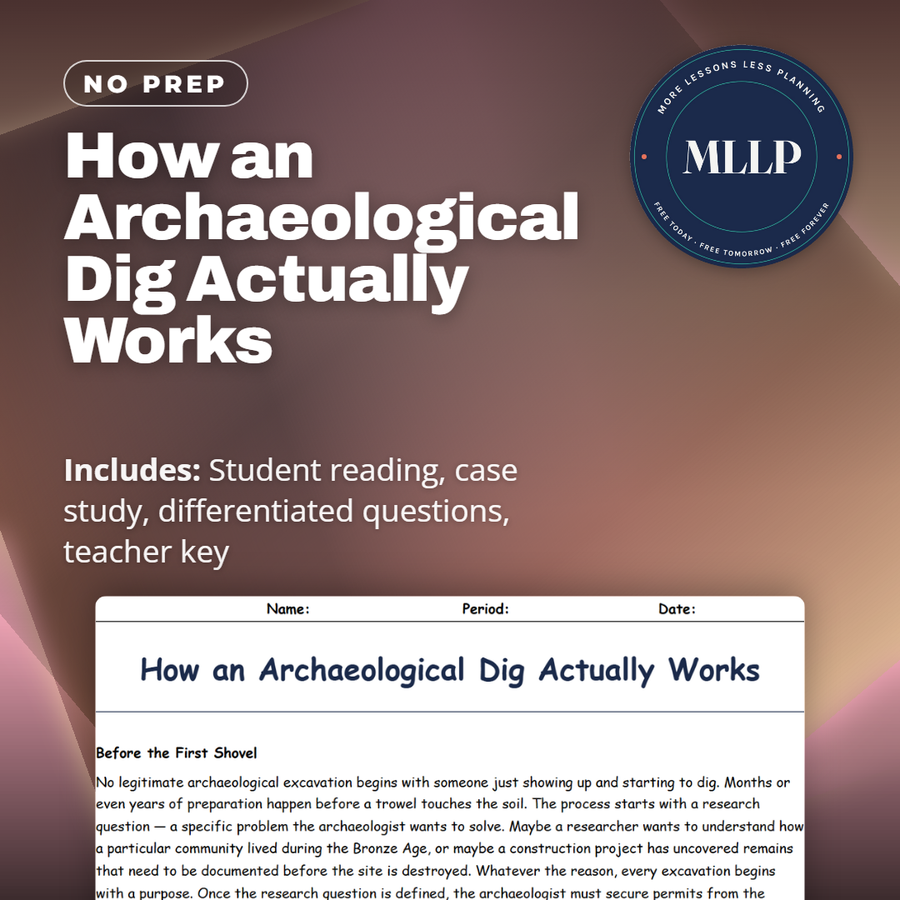
How an Archaeological Dig Actually Works
Quality reviewed September 2026
Facts verified September 21, 2026
- Subject
- Social Studies
- Grades
- Grades 9-12
- Length
- 9-page student worksheet
- Time
- About one 50-minute class period
- Great for
- Sub plans and independent work
- Includes
- Reading passage, comprehension questions + full answer key
- Format
- Print-and-go PDF
What students do
- Explain why Elena's mistake with the trowel destroyed information that can never be recovered
- Trace the order of an excavation from permits and survey through backfilling and publication
- Five terms, including datum point and stratigraphy, get sorted to their correct definitions
- Three short-answer questions cover permits, screening, and why an unpublished dig stays incomplete
What it covers
- The full excavation process from permits and grid systems to backfilling and publication
- Why archaeologists screen soil, record a datum point, and follow the law of superposition
- Elena's case study on the hearth feature she destroyed on her first day in the trench
Start reading this worksheet
Before the First Shovel
No legitimate archaeological excavation begins with someone just showing up and starting to dig. Months or even years of preparation happen before a trowel touches the soil. The process starts with a research question, a specific problem the archaeologist wants to solve. Maybe a researcher wants to understand how a particular community lived during the Bronze Age, or maybe a construction project has uncovered remains that need to be documented before the site is destroyed. Whatever the reason, every excavation begins with a purpose. Once the research question is defined, the archaeologist must secure permits from the appropriate government authority. In the United States, any work on federal land requires permits under the Archaeological Resources Protection Act. In other countries, national antiquities departments issue excavation licenses. These permits are not rubber stamps: they require detailed proposals explaining what will be dug, why, and how. Archaeologists must also secure funding, which typically comes from universities, government grants, or cultural resource management contracts. Before any digging begins, the team conducts a survey of the area. This can involve walking the ground looking for surface artifacts, using aerial photography or satellite imagery to spot features invisible from the ground, or deploying technology like ground-penetrating radar to peek beneath the surface without disturbing it. Survey data helps the team decide exactly where to place their excavation units, the specific squares of earth they will remove layer by layer.
Grid Systems and Test Pits
Once the survey identifies promising areas, the next step is setting up a grid system. Archaeologists divide the site into a grid of precisely measured squares, typically one meter by one meter or two meters by two meters. Each square gets a unique designation based on its coordinates. For example, N10E5 means 10 meters north and 5 meters east of the datum point. The datum point is a fixed reference location, often marked by a permanent stake or metal pin driven into the ground. Every measurement on the site is taken relative to this single point, which ensures that the exact three-dimensional position of every artifact can be recorded and later reconstructed. Before committing to a full-scale excavation, most archaeologists dig test pits, small exploratory holes scattered across the site. Test pits are like taking core samples of the earth. They reveal what lies beneath the surface: the depth of cultural deposits, the types of soil layers present, and whether artifacts exist at that location. A test pit might show a promising sequence of occupation layers in one area and sterile, artifact-free soil in another. This information helps the team focus their limited time and resources on the most productive areas. Setting up the grid and digging test pits might sound tedious compared to the dramatic discoveries people see in documentaries, but this phase is critical. Without a properly established grid, every artifact found during the excavation would be a floating data point: an object with no recorded position. And an artifact without a recorded position is an artifact that has lost most of its scientific value.
Trowels, Screens, and Patience
The actual digging phase of an excavation is painstaking, physical work. Archaeologists remove soil one thin layer at a time using flat-edged trowels, which are the single most important tool in the field. A good trowel allows the archaeologist to scrape away soil in controlled, even passes, feeling for changes in texture and color that signal a new stratigraphic layer, a distinct deposit of soil that formed during a particular period. Stratigraphy is the backbone of archaeological excavation. The principle is simple: in an undisturbed site, the deepest layers are the oldest and the uppermost layers are the most recent. This is called the law of superposition. By carefully peeling back one layer at a time and recording what is found in each, archaeologists build a chronological sequence of human activity at the site. Disturbing or mixing layers is one of the worst things that can happen during an excavation, because it destroys the time relationships between artifacts. All soil removed during excavation is passed through wire mesh screens, usually with quarter-inch openings. Screening catches small artifacts (beads, bone fragments, tiny flakes of stone) that the excavator might miss with the trowel alone. On some sites, archaeologists also collect soil samples for flotation, a technique that uses water to separate lightweight organic materials like seeds and charcoal from the heavier dirt. These tiny finds can reveal ancient diets, farming practices, and environmental conditions. Throughout the digging process, every layer, every artifact, and every feature is photographed, drawn on plan maps, and recorded in detailed field notes. Archaeologists measure the depth and horizontal position of each find relative to the datum point. They fill out standardized recording forms and write narrative descriptions of what they observe. This obsessive documentation is not optional: it is the entire point. An excavation is, by its nature, destructive. You cannot re-dig a layer you have already removed. The records are the only thing that survives after the dig is over. This is what separates professional archaeology from treasure hunting. A treasure hunter wants the object. An archaeologist wants the information that the object, its position, and its surroundings can provide. The field notebooks, photographs, measured drawings, and database entries created during an excavation become the permanent scientific record of everything that was found. Decades later, other researchers can return to these records and extract new insights using methods that did not exist when the original dig was conducted. Without thorough documentation, the destruction caused by excavation produces nothing of lasting scientific value. Modern technology has enhanced but not replaced these fundamental recording practices. Digital cameras, GPS receivers, total stations, and tablet-based databases have made documentation faster and more precise, but the underlying principle remains the same: every piece of information about an artifact's position, its surrounding soil, and its relationship to nearby features must be captured at the moment of discovery, because that moment will never come again.
Like what you read? The full reading, the case study, and every question set are in the free download below, along with the answer key.
Why this matters
Elena's mistake in the case study, pressing too hard and cutting through a hearth feature she did not recognize in time, is really a story about what happens when carefulness gets sacrificed to frustration, and that is a lesson that extends past archaeology. Plenty of students have felt the same impatience Elena did, the urge to hurry through a slow, repetitive task, and the reading is honest that in archaeology that impulse can destroy something permanently rather than just producing a sloppier result. The process the reading walks through, securing permits, surveying before digging, recording every layer before moving to the next one, is also a model for how any complex, irreversible task should be approached, whether that is a lab experiment or a construction project. Dr. Patel's response to Elena, that every archaeologist makes this mistake once and the point is never making it again, is a forgiving way to talk about a real professional standard.
From one teacher to another
No legitimate excavation starts with someone simply showing up and digging. Months of permits, funding, and survey work happen first, followed by a grid system built around a fixed datum point so every artifact's exact position can be recorded. This worksheet walks students through the full process, from test pits and the law of superposition to screening every bucket of soil through wire mesh for beads and bone fragments the trowel missed. It ends with the part few people picture, an analysis phase that runs three to five times longer than the dig itself. In the case study, first-year student Elena presses her trowel too hard on a hot August afternoon in the Sonoran Desert and cuts through an 800-year-old hearth feature before she even realizes what she is looking at. Students use her mistake to explain why archaeologists say excavation is destructive by its own nature.
What you get
Download
Where should I send the next one?
Everything here is free and it stays that way. Leave your email and I'll send you the new lessons as they go up. You can unsubscribe from any one of them.
Related resources

Archaeology in Pop Culture: What Movies Get Wrong
Archaeology's Biggest Mistakes and Hoaxes
Careers in Archaeology: What Can You Actually Do?
Context Is Everything: Why Location Matters More Than the Object
Experimental Archaeology: Rebuilding the Past to Understand It
Famous Archaeologists Who Changed the Game
Every lesson on this site is free to download and use. If one of them saved you a prep period, you can chip in a few bucks toward my three kids' daycare fund. That's genuinely where tips go.